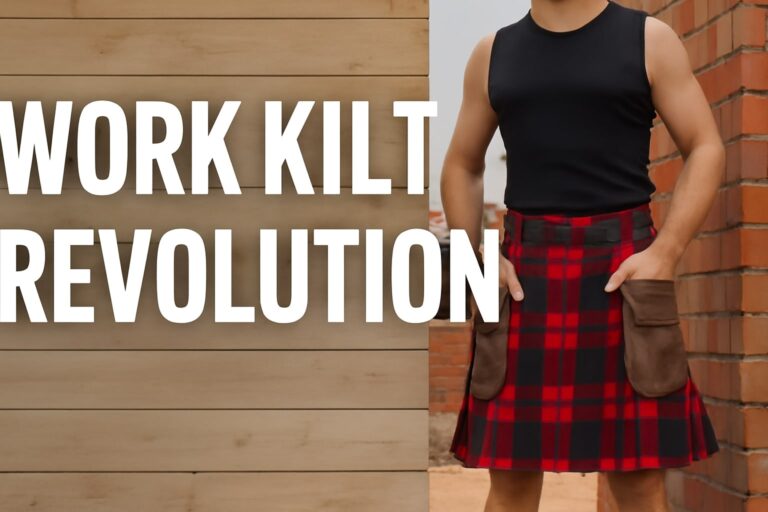
Utility kilts have long moved beyond traditional tartan and ceremony. Today, they’re about versatility, grit, and everyday wear. But as your life evolves, so should your kilt. Whether you’re chasing practicality, style, or just trying to make an old favorite work harder, modifying your utility kilt can be a game-changer.
From adding new DIY utility kilt pockets to reshaping pleats or stitching in personal details, this guide walks you through everything you need to breathe new life into your kilt, without having to buy a new one. If you’ve ever wished your pockets were bigger or your pleats sat cleaner, you’re in the right place. Let’s get started with some creative, hands-on upgrades that make your kilt truly yours.
Why Modify Your Utility Kilt?
You might love your utility kilt, but over time you’ll find things you want to change—maybe you need more room for tools, or the fit just isn’t what it used to be. Instead of stashing it away, why not improve it?
-
Functionality: Add new pockets or compartments for keys, tools, phones, or wallets.
-
Comfort: Adjust pleats for mobility or tapering to suit your frame better.
-
Style: Add personal flair with custom stitching, embroidery, or patches.
-
Sustainability: Save money and reduce waste by modifying rather than replacing.
-
Sentiment: Maintain the character of a kilt that’s broken in and already familiar.
Tools and Materials You’ll Need
Before you begin, set up your sewing station with the following essentials:
Basic Supplies
-
Heavy-duty sewing machine (or needle/thread for hand sewing)
-
Thread (canvas, polyester, or denim-strength)
-
Fabric glue (optional for temporary placement)
-
Measuring tape and chalk pencil
-
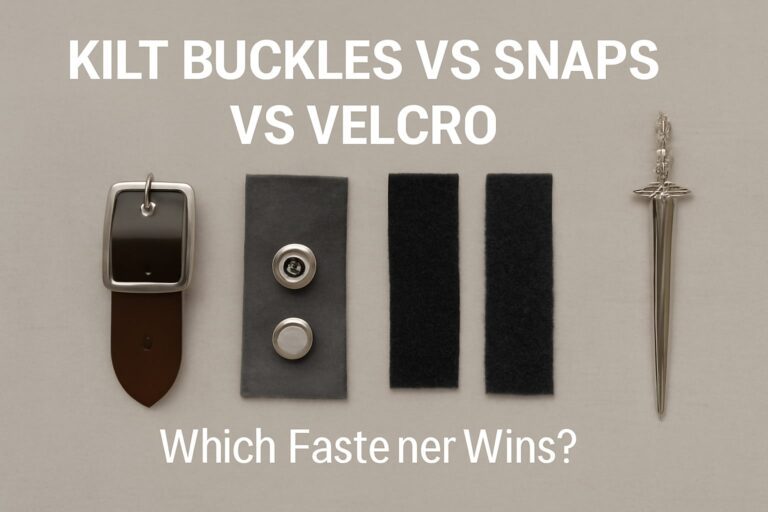
Velcro, snaps, or zippers
-
Seam ripper, scissors, pins, and clips
Optional DIY Add-ons
-
MOLLE webbing strips
-
Waterproof liner fabric
-
Iron-on patches or badge labels
-
Leather scraps or contrast fabrics
DIY Utility Kilt Pocket Hacks
Pockets are the signature of utility kilts—but that doesn’t mean they’re perfect out of the box. Here’s how you can add or upgrade them.
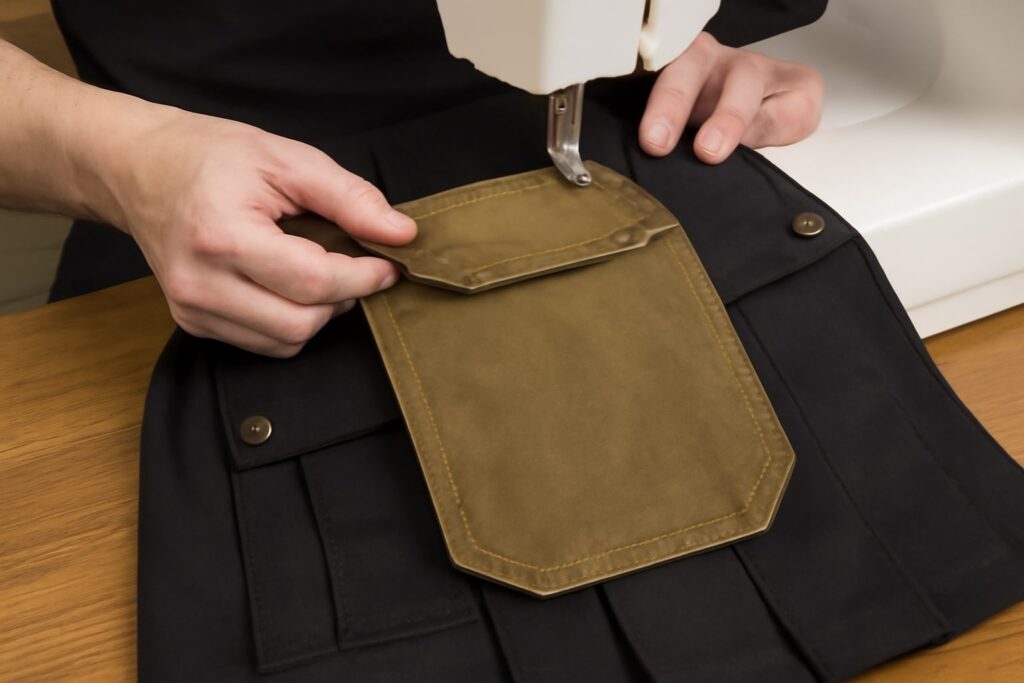
Add Extra Cargo Pockets
Need more storage? You can attach additional cargo pockets on the sides or even the rear.
Steps:
-
Measure and mark symmetrical placement.
-
Cut your pocket shape out of durable fabric (canvas, denim, or ripstop).
-
Add side gussets for a 3D effect and better capacity.
-
Use double stitching or a reinforced top stitch.
-
Attach with a zipper or velcro if you want them detachable.
Tip: Consider sewing one with an inner phone pouch to keep it secure.
Reinforce or Replace Existing Pockets
If your original pockets are wearing out, you don’t have to remove them—just strengthen or swap the fabric.
How-to:
-
Carefully remove old pockets using a seam ripper.
-
Trace the pattern onto new fabric.
-
Add internal reinforcements using interfacing or lining.
-
Reinforce corners with bar tacks or rivets.
-
Reattach with precise stitching to match the original seam line.
This is also the perfect time to upgrade the closures with magnetic snaps or chunky zippers for a modern touch.
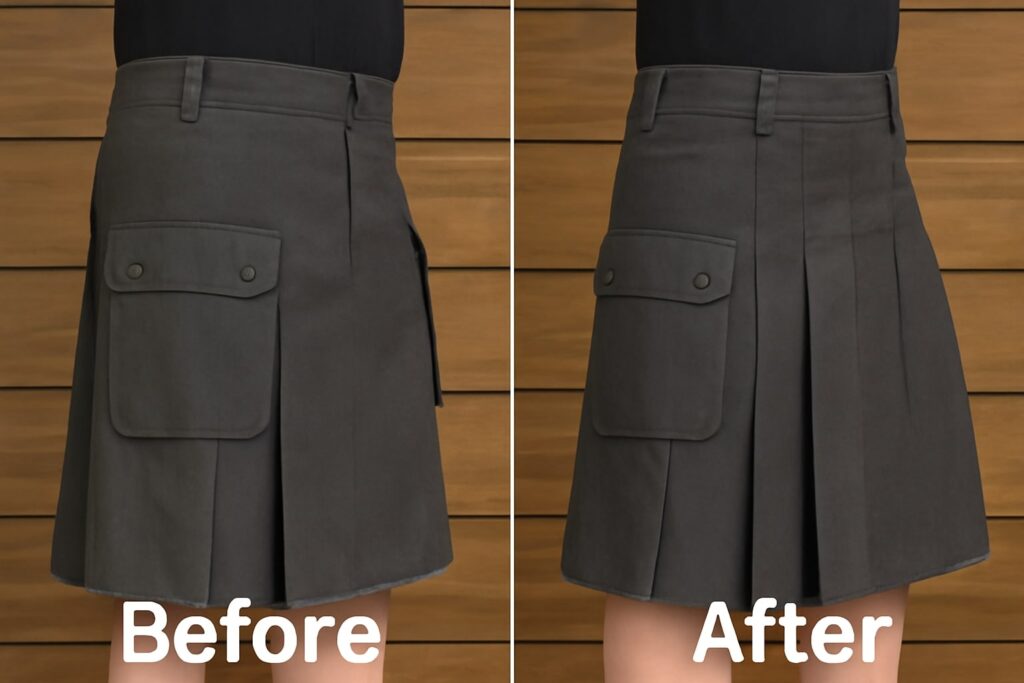
How to Modify Utility Kilt Pleats
Pleats play a huge role in your kilt’s comfort and shape. Adjusting them can dramatically change how the kilt fits, especially at the waist or hip.
Reshaping for Fit and Mobility
Whether your kilt feels tight or too baggy, here’s how to adjust the pleats:
-
Expand pleats: Unpick a few stitches, press them open, and resew with a narrower seam.
-
Taper the fit: Use darts or slight gussets at the waistline to bring it in.
-
Increase stride room: Add a gusset panel at the rear or inner pleats.
Tip: Always press with steam and pin before stitching to get clean lines.
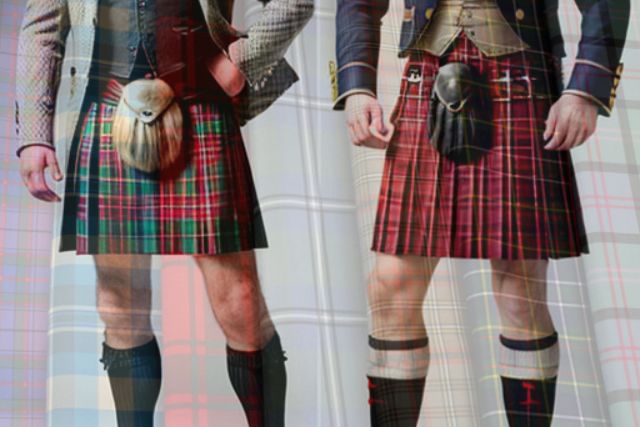
Switching Pleat Styles
Want a new look? Convert knife pleats into box pleats, or vice versa.
-
Knife pleats: Clean and directional, ideal for a sharper appearance.
-
Box pleats: Bulkier and better for more casual or rugged wear.
Use chalk to mark the fold lines. Iron firmly, then stitch only the top inch of the pleats to secure structure while maintaining movement.
Personalization Ideas to Make It Yours
Utility kilts aren’t just for work—they’re a canvas for self-expression. Here are a few bold ways to make yours stand out:
Custom Stitching & Patches
-
Add contrast topstitching in bold thread colors
-
Apply velcro-backed morale patches that you can swap out
-
Stitch on fabric name tags, logos, or band symbols
-
Use heat-transfer vinyl for clean typography or minimal icons
DIY Accessories and Extensions
-
Belt loops: Reinforce or reposition to match your carry style
-
Tool holsters: Sew snap-on pouches for multitools or carabiners
-
Hidden pocket: Sew inside waistband or inner pleats for security
Your modifications should reflect your lifestyle—hiker, biker, festival-goer, or tradesperson.
Common Mistakes to Avoid
Before you get too deep with the sewing machine, keep these things in mind:
-
Poor symmetry throws off the whole look—always measure twice.
-
Overstuffing one side with extra pockets makes it hang unevenly.
-
Using weak thread can undo hours of work in one tug.
-
Neglecting pleat direction may restrict movement or look lopsided.
-
Ignoring original stitching lines can compromise structure and durability.
Take your time. A single afternoon of planning saves hours of fixing later.