

A kilt is more than just a piece of clothing—it’s a statement of heritage, craftsmanship, and personal pride. But over time, pleats can lose their shape, flatten, or even become torn. Whether it’s a traditional tartan kilt or a modern utility style, restoring pleats can breathe new life into your garment.
This detailed DIY guide shows you how to repair, reshape, and replace pleats at home, saving you time, money, and the frustration of unnecessary tailoring. Perfect for kilt lovers who value precision and tradition, without the price tag.
Why Do Kilt Pleats Get Damaged?
Kilt pleats are the structured folds in the fabric that create that signature silhouette. Over time, they lose shape due to:
Frequent sitting or movement
Improper storage (folding or hanging wrong)
Moisture or heat exposure
Machine washing or overpressing
Whether you’re wearing a wool, cotton, leather, or utility kilt, knowing how to care for or fix pleats is essential.
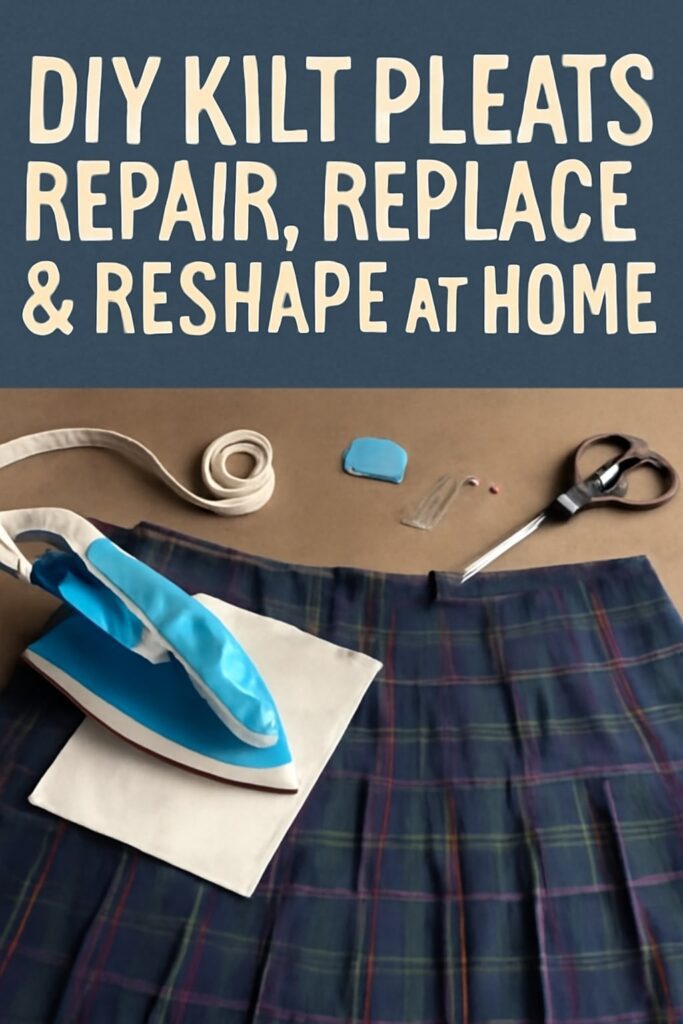
Tools You’ll Need for DIY Pleat Repair
Before you begin, gather these essentials:
A steam iron with adjustable settings
A pressing cloth (cotton or muslin)
Tailor’s chalk or fabric marker
Measuring tape
Heavy-duty straight pins or clips
Sewing machine (optional for full reconstruction)
A clean, flat ironing surface
Step-by-Step Guide to Reshape or Repair Kilt Pleats
🔧 Step 1: Assess the Damage
Lay the kilt flat and examine which pleats are:
Flattened or softened
Off-center or shifted
Ripped or coming unstitched
Mark these with fabric chalk.
📏 Step 2: Measure Pleat Width
Using a tape measure, mark the original pleat width (typically between 1.5 to 2 inches for standard kilts). Use a ruler or chalk line to create fold guides.
🧠 Tip: For traditional box pleats, each pleat folds in on itself; for knife pleats, they fold in one direction.
🧵 Step 3: Refold Pleats
Using the chalk guides:
Refold the fabric manually using fingers
Secure pleats with straight pins or clips
Ensure alignment is even along the kilt length
Lay flat and double-check spacing
🔥 Step 4: Press with Steam
Set your iron to wool or medium heat, depending on your fabric.
Lay a pressing cloth over the pleats
Gently press down, using steam bursts rather than swipes
Hold each press for 10–15 seconds
Move along each pleat line individually
Repeat for full front and back of kilt.
⚠️ Caution: Never iron directly on printed or leather fabrics—use a cloth or towel barrier.
Step 5: Re-Stitch if Needed
If the pleats are unraveling:
Use matching thread
Stitch 3–5 inches from waistband down
Lock the pleat ends for durability
This is especially helpful for utility kilts or hybrid kilts with heavier fabrics.
🧊 Step 6: Set the Pleats
After pressing:
Let the kilt cool while pinned
Hang vertically for at least 12 hours
Avoid folding or rolling immediately
This “sets” the pleats and helps them hold shape longer.
When Should You Replace a Pleat?
If a pleat is beyond saving—ripped, discolored, or permanently stretched—you may need to:
Unpick the pleat
Cut a matching replacement piece
Fold and press to match others
Re-stitch into the original spot
For wool kilts with matching tartans, always try to source fabric from the same weave or dye lot to avoid visible contrast.
Quick Fix Tips for Emergency Pleat Repair
Use fashion tape for temporary pleat holding
Safety pins inside for a fast fix (festivals, weddings)
Carry a travel-sized steamer for last-minute reshaping
Can I Machine Wash Pleated Kilts?
Short answer: Avoid it whenever possible.
Machine washing can ruin pleats by flattening, twisting, or shrinking them.
If absolutely necessary:
Use a gentle cycle
Place kilt in a laundry bag
Use cold water and air dry only
FAQ’s
Q1: What if I don’t know the original pleat width?
Use surrounding intact pleats as a guide or measure the waistband evenly to recalculate spacing.
Q2: Can I reshape pleats on leather kilts?
Yes—but never use direct heat. Use a steamer and shape with your hands while warm.
Q3: How long does a pleat repair take?
Around 30–45 minutes for minor touch-ups, and 1–2 hours for full reshaping.
Q4: Can I send my kilt to ScottFashion for pleat restoration?
Yes. Contact us to inquire about our professional kilt repair service.
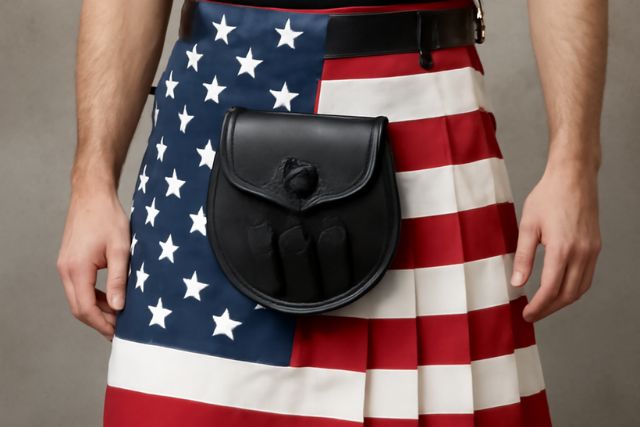

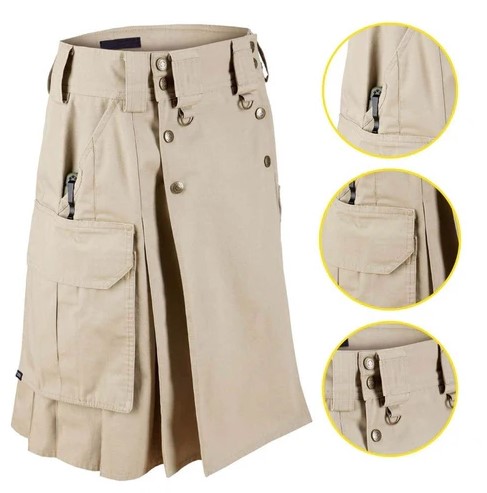
How to freshen up the Front Apron that looks faded
Hi there, thanks for reading the guide! Fading on the front apron usually happens from repeated sun exposure, heat during pressing, or general wear over time, and the fix depends a little on your kilt’s fabric:
Give it a gentle clean first. Dust and body oils can make tartan look duller than it actually is. Use a soft brush (or a lint roller) to lift surface dirt, then spot-clean with a wool-safe detergent and cold water. Never machine wash a tartan kilt, as heat and agitation both accelerate fading.
Steam, don’t scrub. A light steam pass (using a pressing cloth, as in Step 4 above) can revive the sheen of the fibres and make the colours look more vibrant without any chemicals.
Check for sun fade specifically. If the apron panel is faded unevenly (lighter where it caught direct light while on display or drying), that’s UV damage unfortunately; this can’t be reversed with cleaning, only slowed going forward by storing and drying the kilt away from direct sunlight.
For wool tartan kilts, a wool-specific fabric conditioner (applied per the product’s instructions) can restore some richness to the colour and softness to the fibres.
If the fading is significant, re-dyeing isn’t something we’d recommend as a DIY step; the tartan sett has multiple colours that need separate calibration, and an uneven re-dye job is hard to undo. In that case, our professional kilt restoration service can assess it properly.
Feel free to reach out through our Contact page with a photo of the apron; we’re happy to take a look and let you know whether a simple refresh or a fuller restoration is the better route for your kilt.
The ScottFashion Team